Step 1 – Once DriveHUD 2 is downloaded from the website, open file explorer and open the file – DriveHUD2-install-public-beta.exe.
Step 2 – Read the license agreement and check that you agree to the License terms and conditions. By default Create a Desktop Shortcut and Create a Start Menu Shortcut will be selected. If you don’t want to add these, then uncheck those boxes. The default install folder is also listed and can be changed.
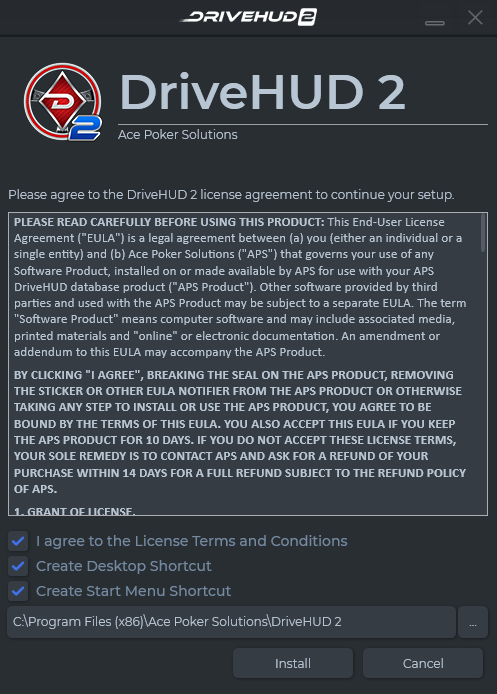
Step 3 – Click Install.
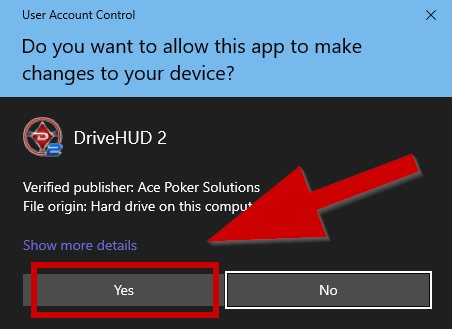
Step 4 – You may see a user access control screen come up and ask you if it’s OK if DriveHUD 2 makes changes to your computer. Click YES to continue.
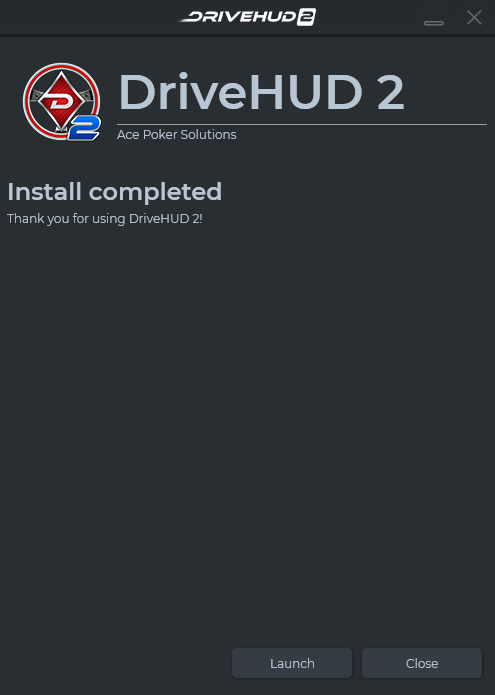
Step 5 – When the installation is complete you’ll get an install complete message. Click the Launch button to run DriveHUD 2.
Step 6 – If you have any difficulty with installation, please contact our support from the following form: Support Page.